How to Make Homemade Compost: A Simple Guide to Success
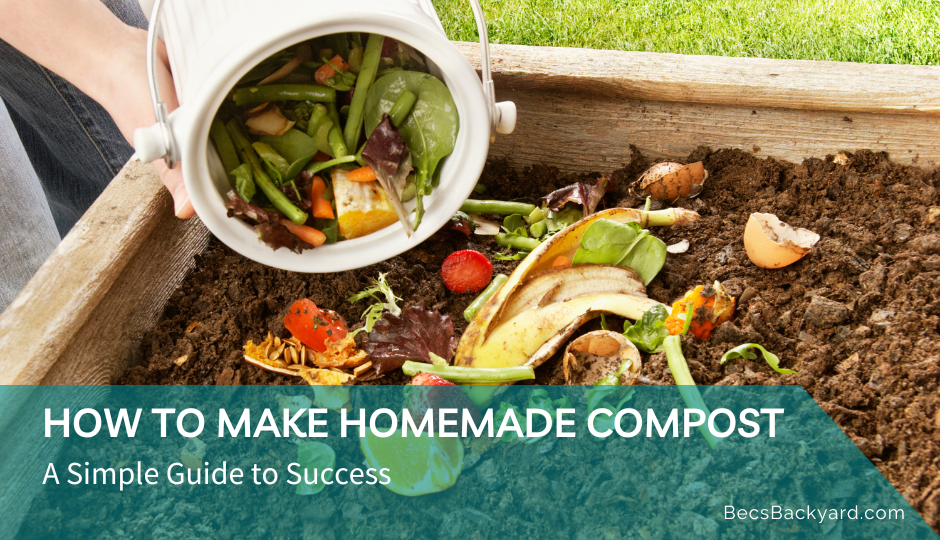
How to make homemade compost is a valuable practice for gardeners and homeowners, as it helps recycle organic waste and provides essential nutrients to plants. This natural process not only promotes a flourishing ecosystem in your garden but also reduces your environmental impact. With just a few simple steps, anyone can create their own compost, transforming food scraps and yard waste into nutrient-rich “black gold.”
Composting involves creating a balance between green materials, which are high in nitrogen, and brown materials, which are high in carbon. Examples of green materials include coffee grounds, fruit and vegetable scraps, and eggshells, while brown materials can be leaves, wood chips, or shredded newspaper. The combination of these materials feeds the beneficial microbes that break down the organic matter, ultimately producing a rich, earthy substance that enhances soil fertility and structure.
When embarking on your composting journey, it’s essential to understand the process, the materials required, and the optimal conditions that support microbial activity. In the following article, we will delve deeper into each of these elements, equipping you with the knowledge to create high-quality compost to boost the health and beauty of your garden.
Understanding Compost Basics
What Is Compost
Compost is an organic material created by the decomposition of natural waste such as food scraps, yard waste, and other organic materials. This process is facilitated by microorganisms, which break down the waste into a nutrient-rich, soil-like substance called humus. Compost is a valuable resource for gardeners and farmers, as it can be mixed into the soil to improve its structure, water retention, and nutrient content, and it is perfect for vegetable gardens.
The composting process involves the following stages:
- Mesophilic phase: During this initial stage, microorganisms consume the readily available organic matter, producing heat as they break down the materials and raise the temperature of the compost pile.
- Thermophilic phase: At this stage, the heat generated attracts thermophilic bacteria, which continue to break down organic materials at high temperatures.
- Cooling phase: As the process continues, the compost pile cools down and other microorganisms such as fungi and actinomycetes take over.
- Curing phase: The final stage of the composting process is the maturation or curing phase. The compost becomes stable and ready for use in gardening or agricultural applications.
How to Make Homemade Compost : What are the Benefits
Creating homemade compost offers several benefits for the environment and garden productivity:
- Waste reduction: Composting allows you to recycle organic waste from your home and yard, reducing the volume of waste that goes to landfills and supports a more sustainable lifestyle.
- Soil improvement: Adding compost to your soil increases its organic matter content, enhancing soil structure, moisture retention, and nutrient availability for plants.
- Plant growth: The nutrients in compost, such as nitrogen, phosphorus, and potassium, contribute to the promotion of plant growth, making it a valuable alternative to chemical fertilizers.
- Pest and disease suppression: Compost can help prevent soil-borne diseases and pests by introducing beneficial microorganisms that compete with harmful ones and by providing plants with the essential nutrients they need to fight off diseases.
- Cost savings: Making compost at home can save you money on store-bought soil enhancers and fertilizers.
By understanding the basics of compost and its benefits, you can make an informed decision on incorporating homemade compost into your gardening routine. With a little time and effort, you can have a positive impact on your garden and the environment.
Essential Ingredients for Compost
Greens
Greens are high in nitrogen and help to break down organic materials quickly. Some examples of green materials include:
- Kitchen scraps
- Coffee grounds
- Fresh plant clippings
- Grass trimmings
These materials are essential for efficient decomposition and produce heat during the process.
Browns
Browns are high in carbon and create air pockets in the compost, promoting aeration. Some examples of brown materials include:
- Fallen leaves
- Shredded tree branches
- Cardboard
- Newspaper
- Hay or straw
- Wood shavings
Browns provide structure to the compost and help to balance the moisture levels.
Water
Water is crucial for the composting process. The microorganisms responsible for breaking down the organic matter need moisture to thrive. The ideal moisture level in a compost pile should be similar to a wrung-out sponge, damp but not soaking wet. Too much water can cause anaerobic conditions and produce foul odors, while too little water can slow down decomposition.
Air
Air is essential for aerobic microorganisms to break down organic materials effectively. Turning or mixing the compost pile regularly ensures proper aeration and faster decomposition. Compost piles that are not turned often might become compacted, leading to anaerobic conditions and undesirable odors. Turning the pile every week or two can keep the process healthy and efficient.
Setting Up a Compost System
Choosing a Location
How to make homemade compost – When setting up a home compost system, begin by selecting an appropriate location in your yard. The chosen area should be easily accessible all year round, have good drainage, and not be placed right up against a fence. Ensure there is a water source nearby. The compost pile will break down whether in sun or shade, so either option works for placement.
Selecting a Compost Bin or Heap
Opt for a compost bin or heap that best suits your needs. Several options are available, such as open compost heaps, enclosed bins, and rotating tumblers. Open heaps involve piling compost materials directly onto the ground, while enclosed bins contain the materials in a pre-built or custom-made container. Rotating tumblers, on the other hand, are designed for easy turning and faster composting.
Start by adding a 3- to 6-inch layer of untreated wood chips or small broken branches at the bottom of the bin or heap, as this will help absorb odors and provide air circulation. Then, follow these steps:
- Build your compost pile on well-drained soil. For bins, consider laying a layer of flagstone and gravel to promote drainage.
- Layer your compost materials by alternating “brown” and “green” matter. Examples of brown materials include dry leaves, straw, and small branches, while green materials comprise grass clippings, fruit and vegetable peelings, and coffee grounds.
- Add a 6-inch layer of brown matter followed by a 2- to 3-inch layer of green matter.
- Cover each layer of green and brown material with a thin layer of soil. Repeat the layering process until your pile reaches 2 to 3 feet high.
- Dampen the pile at the start and water it periodically, maintaining the consistency of a damp (not wet) sponge.
By following these guidelines, one can effectively set up a home compost system that will help reduce household waste and provide nutrient-rich compost for the garden’s growth and development.
Creating and Maintaining the Compost Pile
Layering the Ingredients
When creating a compost pile, it’s essential to layer the ingredients to ensure an optimal decomposition process. Start with a 4-inch layer of brown materials, such as fallen leaves, shredded tree branches, or cardboard. Add a 2-inch layer of green materials on top, including kitchen scraps, coffee grounds, and grass trimmings. Alternate these layers until the pile reaches the desired height. This layering process helps maintain a proper balance of carbon and nitrogen within the compost pile.
Turning and Aerating
A crucial step in maintaining a healthy compost pile is turning and aerating the materials. This allows oxygen to reach all parts of the pile, promoting the growth of aerobic bacteria that break down the organic matter. Use a shovel or pitchfork to turn the compost materials every one to two weeks, moving materials from the outer edges to the center to ensure thorough decomposition. Regular turning also helps control unwanted odors and speeds up the composting process.
Monitoring Moisture and Temperature
Keep a close eye on the moisture and temperature levels within the compost pile to ensure a successful decomposition process. The pile should be as damp as a wrung-out sponge, neither too wet nor too dry. If it becomes too dry, add water to moisten the materials. If it’s too wet, add more brown materials to absorb excess moisture.
The compost pile’s temperature is a good indicator of the decomposition activity. As the pile heats up, it signifies that the microorganisms are breaking down the organic materials. Monitor the temperature using a compost thermometer and aim for the optimal range of 130 to 160 degrees Fahrenheit. If the temperature begins to fall, it’s time to turn the pile and add more materials if necessary.
Troubleshooting Common Issues
Compost Smells Bad
When a compost pile smells unpleasant, it’s often due to excess moisture or lack of aeration. Consider incorporating more dry materials, such as leaves, straw, or newspaper, to absorb extra water and improve the pile’s overall balance. Turning the heap regularly helps to aerate it and prevents the formation of anaerobic pockets, which can lead to foul odors. If a pile remains odorous even after turning, try supporting it from below with a wooden palette or including large sticks in the middle to encourage airflow.
Compost Is Not Heating Up
A well-functioning compost pile should generate heat as materials decompose, but if your heap isn’t warming up, there are a few potential culprits. It could be too small, so consider increasing its size to at least 3 feet in width and height to achieve proper insulation and facilitate decomposition. Another possibility is that it lacks nitrogen-rich materials like vegetable scraps, grass clippings, or coffee grounds. Balancing these items with high-carbon materials such as dry leaves, straw, or shredded newspaper can accelerate the heating process. Lastly, the pile might not be getting enough oxygen. Regular turning can provide better aeration, contributing to faster, more effective decomposition.
How to Use Finished Compost
Determining If Compost Is Ready
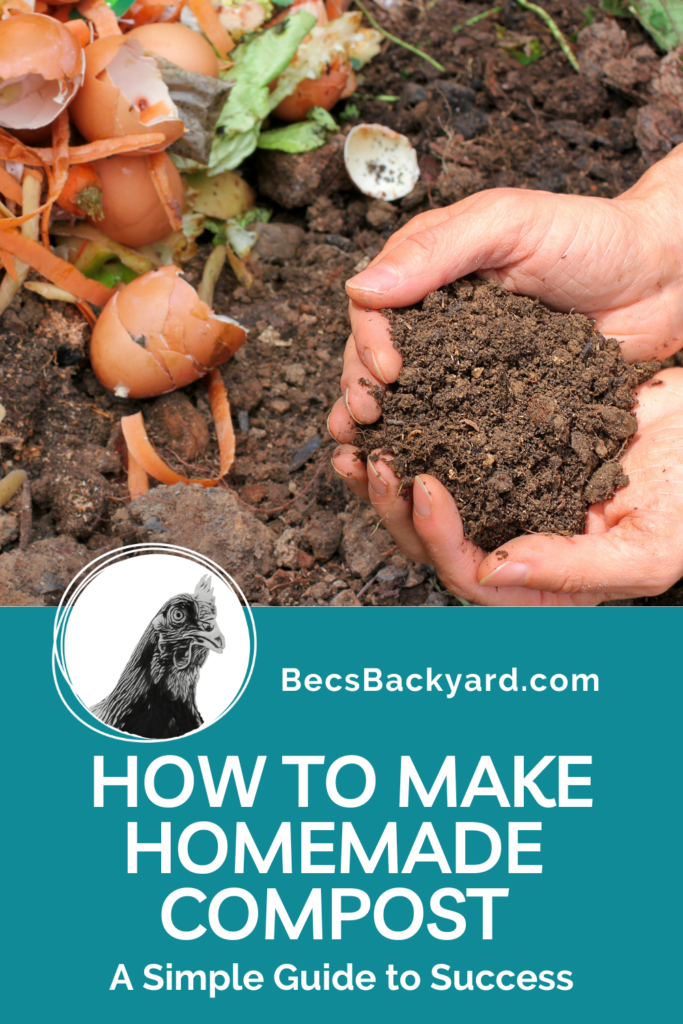
To determine if your compost is ready for use, ensure that it has a rich, dark brown color and a crumbly texture, resembling soil. It should have a pleasant, earthy smell. Additionally, the temperature of the compost pile should have significantly decreased, indicating that the composting process has slowed down or stopped. It typically takes a few weeks to a few months for compost to be ready depending on the ingredients used and how well the pile was maintained.
Application in the Garden
Once the finished compost is ready, it can be applied to the garden in various ways. Some suggested methods include:
- Top-dressing: Spread a thin layer of compost (1-2 inches) on the garden soil surface. This method can help improve the soil structure, conserve moisture, and provide a slow release of nutrients to plants.
- Side-dressing: Add compost alongside growing plants, creating a small trench to incorporate the compost. This provides nutrients directly to the root zone, improving plant growth and overall health.
- Soil amendment: Before planting, mix compost into the garden soil to a depth of 4-6 inches. This can help improve soil fertility, aeration, and water retention capabilities.
Remember to keep a balance of green and brown materials for the best nutrient ratios in your compost. Avoid using large quantities of compost, as excessive amounts can cause nutrient imbalances and harm plants. The recommended application rate is 2-4 inches of compost per square foot of garden space per year.
Frequently Asked Questions
What are the best ingredients?
The best ingredients for compost include a balanced mix of green materials, such as fruit and vegetable scraps, fresh grass clippings, and coffee grounds, along with brown materials, such as dried leaves, straw, and shredded paper. These help create a balanced compost pile that fosters decomposition and generates nutrient-rich compost. It is important to maintain about a 4:1 ratio of brown to green materials.
How long until compost is ready?
The time it takes to produce compost varies based on factors such as the materials used, the size of the pile, and the conditions under which it is maintained. It can take anywhere from a few weeks to a few months for compost to be ready. Compost is usually considered ready when it is dark, crumbly, and has an earthy smell. Turning the pile and maintaining proper moisture can help speed up the process.
How to create a compost bin?
Creating a compost bin can be simple and inexpensive. One option is to build a basic structure with wooden pallets, chicken wire, or cinder blocks. Alternatively, a simple DIY compost bin may involve drilling holes into a plastic container for aeration. Make sure to place the bin in a shaded area with good drainage and ensure that the contents have proper aeration and moisture.
What should not be added?
Avoid adding materials such as meat, dairy, oils, fats, and bones as they can attract rodents and create unpleasant odors. Additionally, refrain from adding diseased plants, weed seeds, or plants treated with pesticides as they can disrupt the composting process and negatively affect the finished compost.
Methods to speed up composting?
To speed up composting, turn the pile regularly (every 1-2 weeks) to increase aeration and distribute heat evenly. Chopping or shredding materials into smaller pieces before adding them to the pile can also help accelerate decomposition. Ensuring that the compost pile remains about as moist as a wrung-out sponge is essential for optimal conditions.
What are compost uses?
Compost can be used in various ways to enrich and improve garden soil. These uses include mulching, top-dressing, and amending soil. Additionally, compost can be added to container plants and used as a natural fertilizer or mixed with soil to improve its structure, fertility, and water retention capacity. Compost also helps suppress disease, promote healthy microbial activity, and reduce the need for synthetic fertilizers.
Conclusion
Learning how to make homemade compost is not only an eco-friendly practice but also a rewarding one. By turning organic waste into nutrient-rich soil amendment, you are contributing to a healthier environment and reducing your carbon footprint. Composting is a simple and cost-effective way to recycle kitchen scraps, yard waste, and other organic materials, and it allows you to play an active role in sustainable living.
Throughout this guide, we have discussed the essential steps to create compost, from gathering the right materials to maintaining the ideal conditions for decomposition. By following these guidelines, you can achieve a successful composting process, yielding a dark, crumbly, and nutrient-dense compost that will enhance your garden’s vitality and productivity.
Remember, composting is a continuous journey of experimentation and learning. As you gain experience, you may discover new techniques or adapt the process to suit your specific needs. Don’t be afraid to experiment with different ingredients, ratios, and methods to find what works best for you. The key is to strike a balance between carbon-rich and nitrogen-rich materials, maintain proper moisture levels, and turn the compost regularly to accelerate decomposition.
Lastly, encourage others to join you in composting and spread awareness about the benefits it offers. Share your experiences, offer guidance, and inspire others to take part in this sustainable practice. Together, we can make a significant impact on reducing waste, preserving natural resources, and creating a healthier planet for future generations.
So, start composting today and witness the transformation of your organic waste into a valuable resource for your garden. Enjoy the process, embrace the journey, and reap the rewards of homemade compost. Happy composting!

