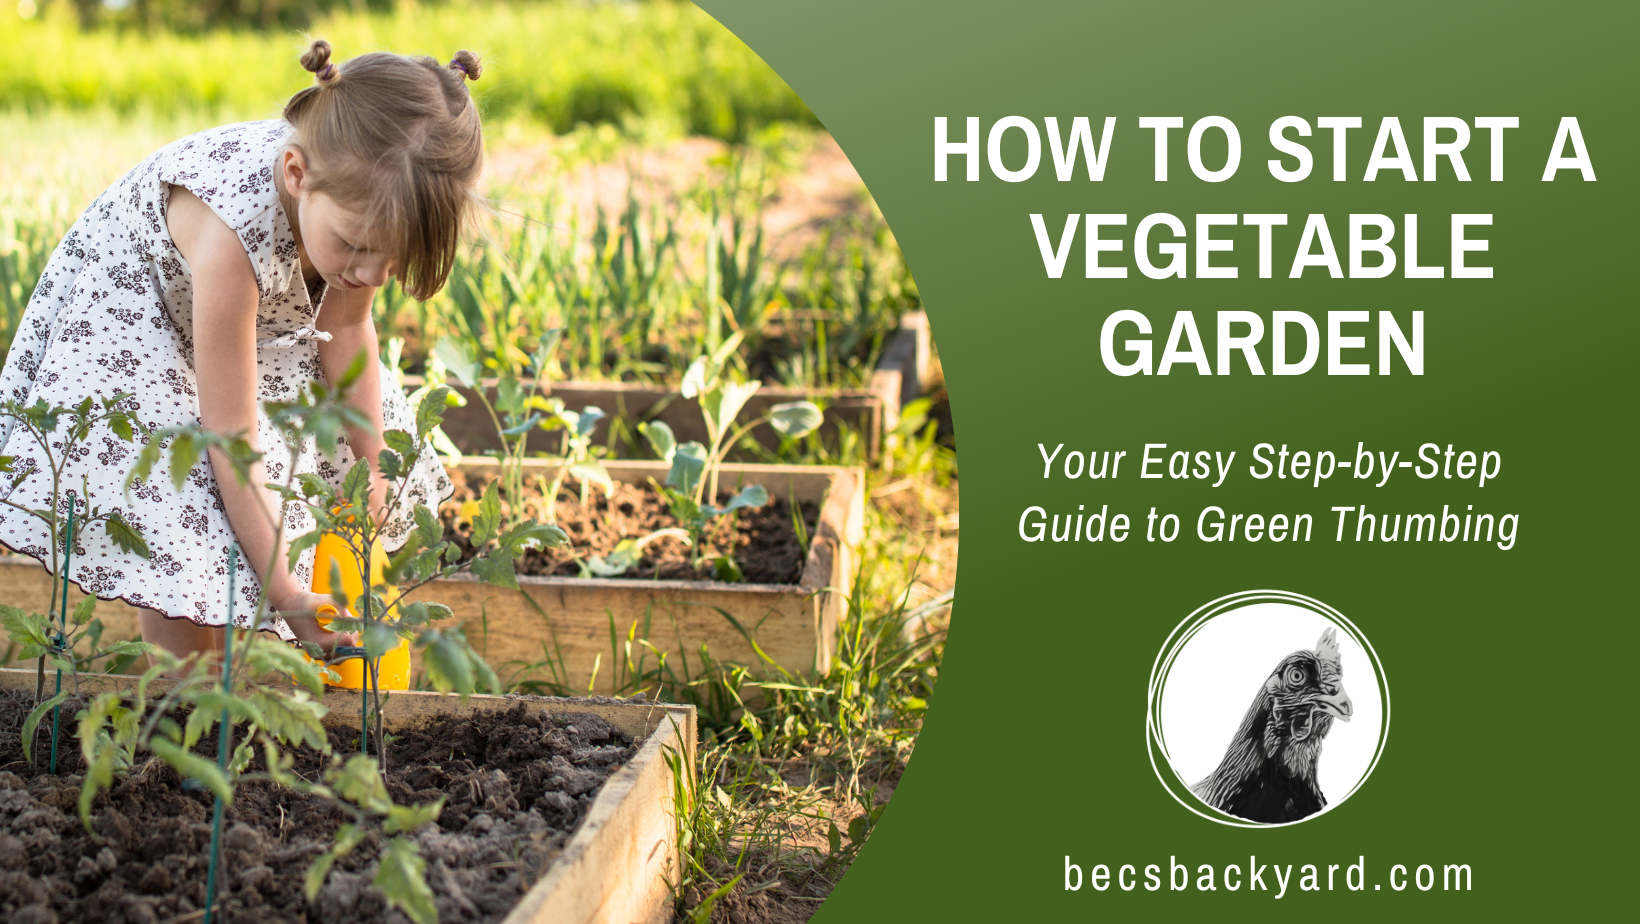
How to Start a Vegetable Garden: Your Easy Step-by-Step Guide to Green Thumbing
How To Start A Vegetable Garden.
Deciding how to start a vegetable garden might seem like a task requiring a green thumb, but I’ve found that with the right steps, anyone can cultivate a bountiful harvest, even as a beginner. The key is to begin with a manageable scope, embracing the learning curve that comes with nurturing plants from seed to salad. From my experience, the satisfaction of growing my own food transcends the initial effort. There’s something special about watching tiny seeds sprout into vibrant vegetables rooted in the soil I’ve prepared.
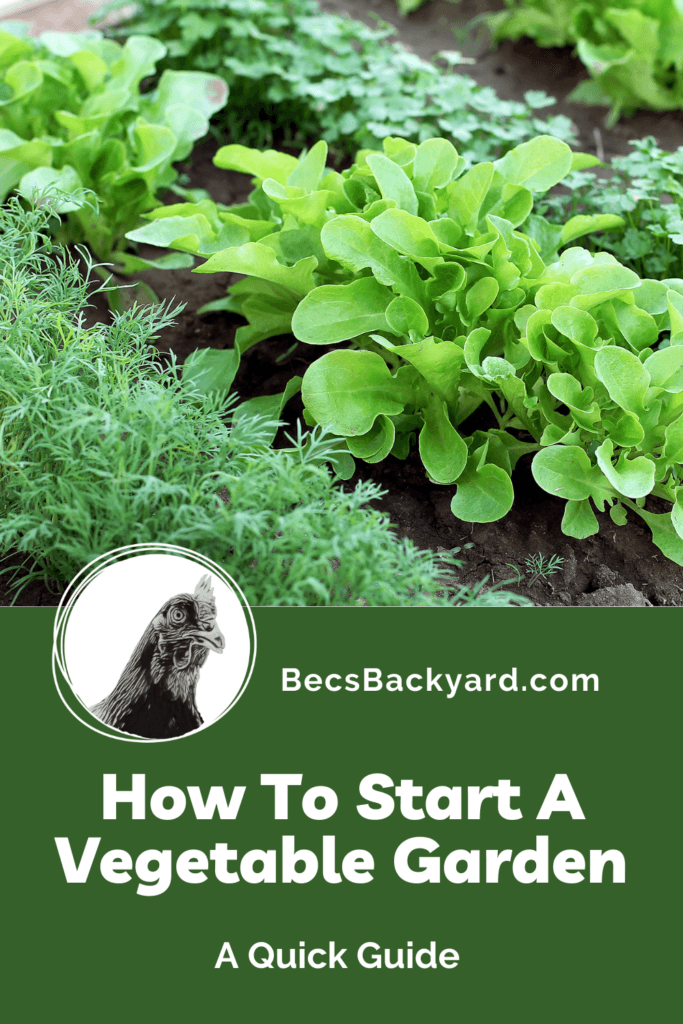
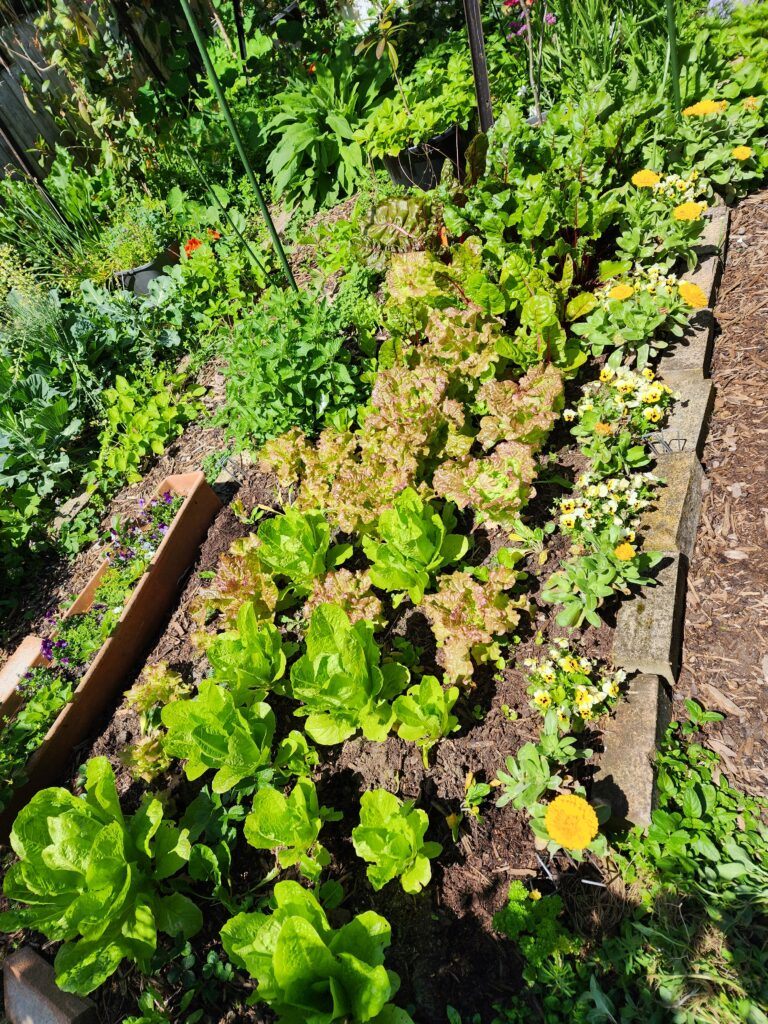
When I was thinking about how to start my own vegetable garden, I first considered the location. I sought a spot that gets plenty of sunlight since most vegetables require six to eight hours of sun per day. the photo below shows my garden in year 3 where I had expanded it into 4 garden beds. I started with just 1 that was edged with bricks and used bags of garden soil from the store. I built it directly on top of the lawn, so I didn’t have to do any digging.

I’ve also discovered that starting small can lead to big successes. I selected a few of my favorite vegetables and learned their specific requirements regarding spacing, watering, and care. By focusing on just a few types at first, I avoided feeling overwhelmed and could pay closer attention to the individual needs of each plant. It’s a learning journey – every season provides insights and gratification. Each fresh harvest brings not only tasty produce to my table but a deeper connection to the food I eat.
How To Start A Vegetable Garden
Planning
Before we dig our hands into the soil, it’s crucial to lay out a proper plan. I’ll focus on finding that sweet spot for the garden, figuring out a practical layout, and picking the veggies that’ll thrive.
Choosing the Right Location
To ensure my vegetables get what they need, I look for a spot that receives at least six hours of direct sunlight daily. I’m mindful of the local climate and the garden’s exposure to the elements. For example, a southern exposure is ideal in the Northern Hemisphere, here in New Zealand I have a northern exposure.
Determining the Size and Layout
I did want to keep my gardens manageable and started with one garden plot. This quickly expanded over the growing seasons as I realized how easy it was to create and maintain several garden beds. Start small, there is nothing stopping you adding on over the growing seasons!
Selecting Vegetables and Varieties
I’m mindful of the season and the right vegetables that’ll fit both the climate and my own tastes. Here’s a quick list I use to match vegetables with their ideal seasons:
- Spring: Lettuce, Radishes, Peas
- Summer: Tomatoes, Peppers, Cucumbers
- Autumn / Fall: Carrots, Broccoli, Spinach
I also consider companion planting for mutual benefits and choose varieties suited to my region. Going local can make a big difference in the success of my garden.
Soil Preparation
Before diving into planting, I’ll focus on two critical steps to ensure my vegetable garden’s success: soil testing and amendment, and adding the right nutrients and compost. Proper soil preparation sets the stage for healthy plants that can better withstand pests and weather challenges. To be honest, I didn’t do this when I created the first garden bed, because I just wanted to get going. I did use some prepared garden soil mix, so I felt that I had probably catered for the vegetable’s needs. In following seasons I started researching a little bit more about plant requirements.
Fertilizing and Adding Compost
I was sorted for my first season, but I did need to prep things for the following growing seasons. I focus on soil fertility by introducing nutrients that feed my plants throughout their growing cycle:
- Compost: I blend in a generous amount of compost—it’s like a multi-vitamin for my garden, packed with nutrients and beneficial microorganisms.
- Organic fertilizers: If needed, I add an organic fertilizer to address any specific nutrient deficiencies the soil test identified.
Here’s a quick breakdown of my process:
- Spread compost: About 2-4 inches of compost worked into the top 6-8 inches of soil does wonders.
- Apply fertilizers: I follow the package’s recommended rates, ensuring I don’t overdo it. Too much fertilizer can harm my plants and upset soil balance.
By getting my soil conditions just right, not forgetting to ensure the plot gets plenty of sun, my veggie garden has a strong foundation for thriving. Remember, soil is a living thing, and treating it well pays off in lush, healthy vegetables.
Planting Your Garden
When starting your vegetable garden, a pivotal step is planting. I’ll make sure you understand the difference between starting seeds indoors and outdoors, the process of transplanting seedlings, and how to sow seeds directly into your garden.
Starting Seeds Indoors vs. Outdoors
Starting seeds indoors allows me to control environmental conditions like temperature and moisture. I usually start 6-8 weeks before the last expected frost date in my gardening zone. This is important because tender seedlings can’t handle frost. I place my seeds in containers with drainage holes and use seed-starting mix, ensuring they get plenty of light—about 12-16 hours a day. My plants remain cozy indoors until outdoor temperatures stabilize.
On the other hand, outdoors seed starting depends more on the weather and soil conditions. Not all plants appreciate this approach, but for those that do, I wait until there’s no risk of frost and the soil is workable. It requires less equipment but more patience and resilience to unpredictable elements.
Transplanting Seedlings
When my seedlings have grown enough—typically with a couple of sets of true leaves—it’s time to move them outside. I harden them off first, which means I gradually introduce them to the outdoors over a week. I start by placing them out for just a few hours in a sheltered spot, and gradually increase their time outside to acclimate them to the wind, sun, and temperatures.
Transplanting steps:
- Choose a cloudy day or late afternoon to avoid direct sunlight stress.
- Water the seedlings well before transferring to keep the soil around the roots.
- Dig a hole in my garden bed, place the seedling in, and gently cover with soil.
- Water them gently to settle the soil around the roots and eliminate air pockets.
Direct Sowing Seeds
I direct sow seeds for plants that don’t transplant well, like carrots and peas. I do this once the soil has warmed up and there’s no risk of frost. The seed packet will tell me the appropriate depth and spacing. Rows or scattering methods might change based on the plant type.
- Example: For carrots, I sow seeds ¼ inch deep and thin out the seedlings later to prevent crowding.
I keep the soil moist for germination and make sure my garden doesn’t turn into a frost pocket—a lower area where cold air settles. Full to partial sun is ideal since different veggies require varying levels of direct sunlight, and I always keep a watering can nearby to maintain moisture without overwatering.
Maintaining Your Garden
Gardening isn’t just about planting; it’s about keeping your plants healthy and thriving long-term. I’ll cover the essentials of watering, mulching, and managing those pesky garden critters.
Watering and Irrigation
Watering my garden consistently is crucial for plant health. I use a drip irrigation system for efficiency, aiming for one inch of water per week either through rainfall or supplemental watering. I always check the soil moisture with my finger—about two inches down—if it’s dry, my plants need a drink.
Mulching and Weeding
To keep soil moisture consistent and weeds at bay, I apply a two to three-inch layer of mulch around my plants. This not only helps with water retention but also suppresses weed growth. Regular weeding is a must for me; it prevents competition for nutrients and allows my vegetables to flourish.
Pest and Disease Control
When it comes to pests like aphids, slugs, and caterpillars, I prefer natural pest control methods. I use neem oil and insecticidal soap as my go-to treatments. They’re effective and don’t harm beneficial insects. Prompt removal of diseased plants and keeping an eye out for nutrient deficiencies also keep my garden healthy.
Harvesting and Beyond
When my veggies look ripe and ready, I know it’s go time. But the fun doesn’t stop at harvesting—there’s also smart planning to keep my garden productive year-round.
Knowing When to Harvest
I keep a close eye on my veggies to pick them at their peak. Here’s what I watch for:
- Tomatoes: They should be firm and fully colored.
- Lettuce: I harvest before they get too tall and start tasting bitter.
- Carrots: Slight cracking around the greens tells me they’re good to go.
Succession Planting and Crop Rotation
Succession planting keeps me in veggies all season long. After harvesting one crop, I plant another that will mature in the coming weeks. It’s a cycle that keeps my dinner plate full. I also rotate my crops. This means I don’t plant the same veggie in the same spot each year, ensuring my soil stays healthy and pest problems don’t get a chance to set up shop.
My succession plantings often look like this:
- Spring: I start with cool-season crops like lettuce and spinach.
- Summer: After those are done, I plant beans or tomatoes in the same spot.
- Fall: I finish off with another round of cool-season veggies.
Preparing for Next Season
As the growing season wraps up, I make sure to get my garden ready for a rest. Here’s my to-do list:
- Clean up: I remove all spent plants and compost them if they’re disease-free.
- Soil care: I add organic matter to enrich the soil for next year.
- Mulch: Applying mulch protects my soil from erosion and weeds.
I also plan my crop rotation and decide if I want to try new vegetable varieties or stick with my tried and true picks. Prepping now makes planting time a breeze when the next season rolls around.
To Sum it Up
Embarking on the journey of growing your own vegetable garden can be incredibly rewarding. From selecting the perfect location and preparing the soil to nurturing plants from seed to harvest, every step contributes to the satisfaction of enjoying homegrown produce. Starting small and focusing on your favorite vegetables allows you to learn and gain confidence in your gardening skills without feeling overwhelmed. The process of planting, maintaining, and harvesting your own garden not only provides fresh, delicious vegetables but also fosters a deep connection to the food you eat and the earth itself. As you continue this journey, remember that each season brings new insights and opportunities for growth. By embracing the learning curve and the joys of nurturing your garden, you’ll find that the benefits extend far beyond the garden bed. Happy gardening!
